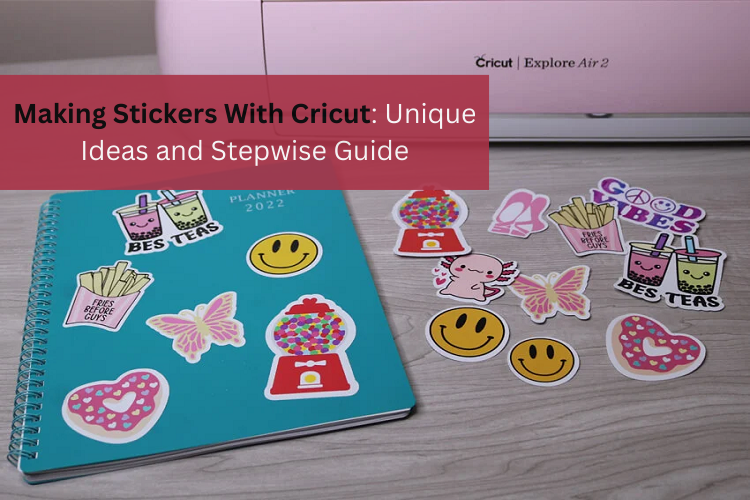
Making Stickers With Cricut: Unique Ideas and Stepwise Guide
- richieremington7
- Feb 7, 2024
- 4 min read
As the new year arrived, I started planning my resolutions. This led me to buy a planner in which I wanted to plan my days. While planning, I got an idea and decided to give it a creative touch. Since then, I have been looking for customized stickers to add to my planner (which really sounds like a really cool idea). Making stickers with Cricut is easy, as I’ve been crafting for several years. go to official website cricut.com/setup to register.
In this blog, I am going to show you how to make vinyl stickers with Cricut using a Print Then Cut feature. With this tutorial, I will basically cover the steps to guide you through the process. In addition, I will also explain the essential items required to make stickers.
So, visit this blog to learn the steps to create your own stickers using a printer and Cricut cutting machine.
What Will You Need for Making Stickers With Cricut?
The supplies I am going to discuss here are really important if you want to make professional-looking stickers like me. So, gather the following items first, then proceed to learn the steps to create Cricut stickers.
Here’s the list that includes essential items:
Cricut Machine and Blades
Cricut Variety Cutting Mats
A4 Printable Vinyl Sheets
Printable Clear Sticker Paper
Printer
Design Space app
Printable Sticker Paper
So, you must have these items before learning the steps to create stickers.
How to Make Vinyl Stickers With Cricut Cutting Machine?
Here, I am going to create character-based stickers. Each and every sticker indicates a particular task. Such stickers make it easier for me to figure out which task I am going to perform next.
So, I will take you through the process of making stickers with Cricut that you can use for journals, diaries, and others.
Step 1: Create a Sticker Image
As I have already mentioned in the list of supplies, you will need a software called Cricut Design Space Download. Using this software, I will create sticker images. However, it’s your choice whether you want to create stickers from scratch or upload print and cut images.
Since I hurriedly needed the stickers, I uploaded images that could be easily printed and cut on my printer and Cricut, respectively. Ensure that print and cut require a print margin of 6.75 x 9.25 inches. Hence, I will suggest you create a template so that it becomes easy to work on.
Here’s how to create a template to get the most out of my material:
First, go to Canvas on your Design Space and navigate to Shapes from the left toolbar.
After that, choose the Square shape.
Next, you need to resize it to 6.75 x 9.25 inches.
Then, you should arrange the stickers onto the template.
Once everything comes to its place, you will need to remove the square from the canvas.
Now, you will need to select the images on the sheet and attach all of them together.
Now, we have arranged all the sticker images together to be in one place while being printed and cut.
Step 2: Manage Settings
My design is ready, and I can print and cut it now. Before that, I have to click on the green-colored Make It button. As you hit the Make It button, you will notice your designs inside the black-lined box. This black-lined box indicates that your printer will not print anything beyond this black border, so ensure your design fits perfectly inside the box.
For the rest, you must do the same steps as usual, such as clicking on the Print option. After that, you will be moved to the print screen.
As you can see in the picture above, I have enabled the Add Bleed option. This Add Bleed option creates a margin around the stickers. To access the printer’s settings, you should also enable the “Use System Dialogue.”
Step 3: Load Your Printer
Now, it is time to load my printer. I will add my printable material here.
Note: Before loading the material into the printer, you should know whether your printer requires a face-up or face-down paper feed.
Once done, you can press the Print button.
Step 4: Setup Your Cricut Mat and Materials
My sheet has been printed. Now, I am going to place this printed sticker image on my LightGrip cutting mat. Line up the sheet with the top left corner (as shown in the image below).
Now, I will select the material I will cut on Cricut. This is the step where we are actually telling our machine about making stickers with Cricut rather than cutting.
So, you need to choose the printable material you will use for your stickers. Once done, load the mat into your Cricut, and the cutting machine’s sensor will start reading the black line. Once the stickers are cut, just weed it and apply it wherever you want!
FAQs
Do I need a printer to make a Cricut sticker?
No, necessarily! The printer is not needed to make stickers with Cricut. However, I have an idea for creating stickers quickly and fun. You can simply use your cutting machine and sheets of vinyl. If you need something creative to make your stickers, you can simply create your design on Design Space, place the vinyl on the mat, and cut it on your cutting machine.
Which printer is the best for making stickers with Cricut?
There are multiple printers available in the market that you can use to print the sticker image. You can also cut it on your cutting machine. However, I am using a Canon TS9521C All-in-One Wireless Printer. It prints the pages in high quality. Besides the Canon printer, you can also use HP Envy Inspire 7255e, Epson EcoTank ET-2720, and more.
Which Cricut machine can I use to create stickers?
If you are looking for a cutting machine within a budget-friendly range, I recommend you go for Cricut Explore 3 Setup. However, the latter version of Cricut Maker is compatible with making stickers. However, it may cost you a bit more than the Explore series. In a nutshell, try the Explore 3 crafting machine to cut the stickers.
For more information visit: cricut.com/create
Source: Making Stickers With Cricut


Comments